Configuring Snowflake Connection Details
Snowflake is a fully-managed SaaS data platform that provides features such as data warehousing, data lake, data science, data application development among many others. Snowflake provides out-of-the-box features like scalable computing, separation of storage and compute, data sharing, data cloning, and support for third-party tools to handle the demanding needs of businesses.
You can use Snowflake in different stages of a data pipeline in the Calibo Accelerate platform:
-
To use Snowflake as a data lake in your data pipelines or in your data transformation and data quality stages, see Configure Snowflake as a Data Lake.
-
To use Snowflake as a data source in a data ingestion pipeline, configure your Snowflake connection details in the RDBMS section of Databases and Data Warehouses. See Configure Snowflake as a Data Source.
The Calibo Accelerate platform offers various options for retrieving your database credentials to establish a secure connection. You can either directly provide the credentials within the connection details, where they are securely stored in the Calibo-managed secret manager. Alternatively, you can choose to retrieve credentials programmatically from your designated secrets management tool.
Prerequisites
You must meet the following prerequisites before configuring Snowflake:
-
Ensure that you have the following permissions:
-
Create schema, table, warehouse
-
Read and Write Tables
-
Usage for storage integration
-
-
Create a storage integration in Snowflake to allow Snowflake to read data from and write data to an Amazon S3 bucket. For detailed information on creating a storage integration, see Configure Storage Integration.
-
Create Amazon SQS event notifications for an S3 bucket to trigger automatic load of data from S3 to Snowflake. For detailed information on creating SQS event notifications, refer to the following link: Creating a new S3 event notification to automate Snowpipe.
To configure connection details of Snowflake as a data lake, do the following:
- Sign in to the Calibo Accelerate platform and click Configuration in the left navigation pane.
- On the Platform Setup screen, on the Cloud Platform, Tools & Technologies tile, click Configure.
- On the Cloud Platform, Tools & Technologies screen, in the Databases and Data Warehouses section, click Configure.
(After you save your first connection details in this section, you see the Modify button here.)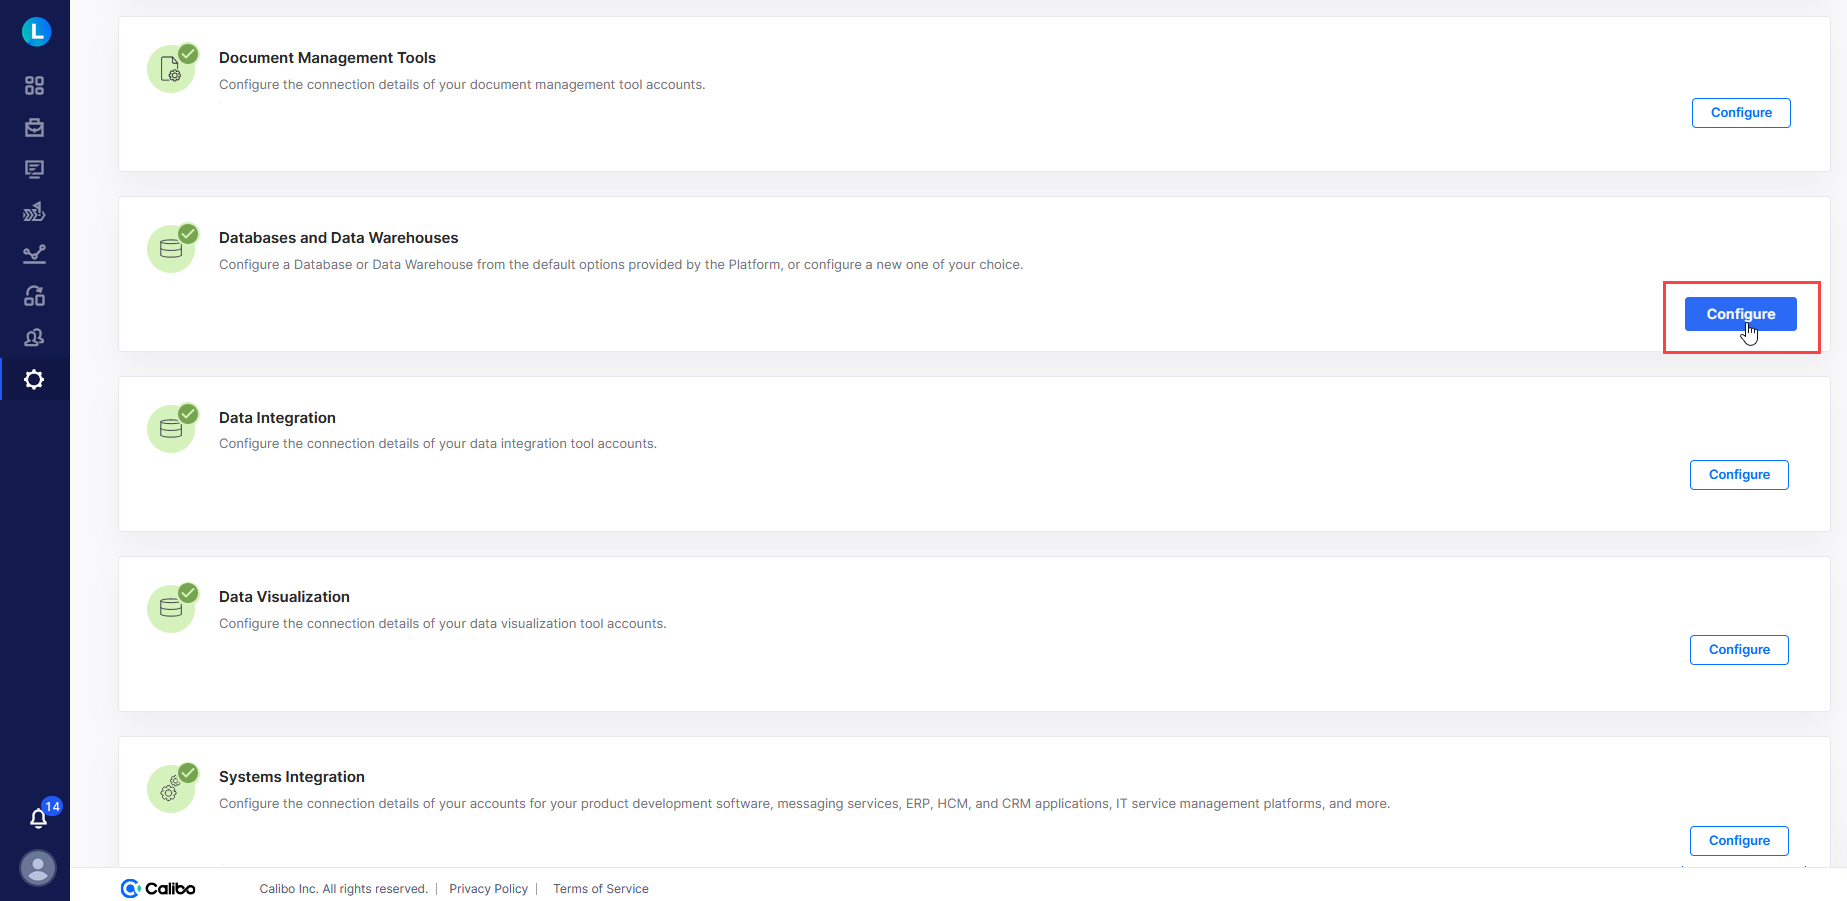
- In the list of available database and data warehouse options, click Snowflake.

- On the Snowflake screen, do the following:
In the Details section, provide the following details:
Field Description Name Give a unique name to your Snowflake configuration. This name is used to save and identify your specific Snowflake connection details within the Calibo Accelerate platform. Description Provide a brief description that helps you identify the purpose or context of this Snowflake configuration. - In the Configuration section, provide the Account URL for your Snowflake account.
- Select Cloud Provider - select the cloud platform on which your Snowflake account is hosted. Choose from the following options:
- AWS
- Azure
Depending on how you want to retrieve the credentials to connect to Snowflake, do one of the following:
Field Description Connect using Calibo Accelerate Orchestrator Agent Enable this option to resolve your Snowflake credentials within your private network via Calibo Accelerate Orchestrator Agent without sharing them with the Calibo Accelerate platform.
Select the Calibo Accelerate Orchestrator Agent that you want to use from the list of your configured agents.
If you select an agent installed in an Amazon EKS cluster, the secrets management tool AWS Secrets Manager is auto-selected. Provide the Secret Name, Username Key, and Password Key of the secret where you store your Snowflake credentials.

If you select an agent installed in an Azure AKS cluster, the secrets management tool Azure Key Vault is auto-selected. Provide the Vault Name, Username Secret, and Password Secret of the secret where you store your Snowflake credentials.

Select Secret Manager If you are not using Calibo Accelerate Orchestrator Agent, you have the following options to store your secrets:
 For Snowflake account hosted on AWS cloud-service provider
- To use the Calibo-managed secrets store, select Calibo and type your Snowflake username and Programmatic Access Token (PAT).

In this case, the user credentials are securely stored in the Calibo-managed secrets store. - To use AWS Secrets Manager, select AWS Secrets Manager. In the Secret Management dropdown list, the AWS Secrets Manager configurations that you save and activate in the Secret Management section on the Cloud Platform, Tools & Technologies screen are listed for selection. Select the configuration of your choice. Provide the Secret Name, Username Key, and the Password Key for the Calibo Accelerate platform to retrieve the secrets for your Snowflake account.

- To use the Calibo-managed secrets store, select Calibo and type your Snowflake username and Programmatic Access Token (PAT).
- For Snowflake account hosted on Azure cloud-service provider
- To use the Calibo-managed secrets store, select Calibo and type your Snowflake username and Programmatic Access Token (PAT).
 In this case, the user credentials are securely stored in the Calibo-managed secrets store.
 - Select Azure Key Vault from the Secret Management dropdown list. The Azure Key Vault configurations that you save and activate in the Secret Management section on the Cloud Platform, Tools & Technologies screen are listed for selection. Select the configuration of your choice. Provide the Vault Name, Username Secret, and Password Secret for the Calibo Accelerate platform to retrieve the credential values.

- To use the Calibo-managed secrets store, select Calibo and type your Snowflake username and Programmatic Access Token (PAT).
Send Calibo Partner ID with this Snowflake instance - This setting adds Calibo Partner ID in the queries run in Snowflake. You can disable the option if you do not want Calibo Partner ID to be added in the Snowflake queries.
- Click Test Connection to validate whether you have configured the correct connection details and you can connect to Snowflake successfully.
- Database - select a database from the dropdown list of configured databases in the Calibo Accelerate platform.
- Schema - select a schema from the list of schemas that are part of the database.
- Warehouse - select a warehouse for the database. You can either select an existing warehouse or create a new warehouse. See Create Snowflake Warehouse.
- View Details - click to view the configuration details of the Snowflake warehouse that you selected from the dropdown list.
- (...) - click the ellipsis to edit, resume, or delete a warehouse.
- Secure configuration details with a password
To password-protect your Snowflake connection details, turn on this toggle, enter a password, and then retype it to confirm. This is optional but recommended. When you share the connection details with multiple users, password protection helps you ensure authorized access to the connection details. Click Save Configuration. You can see the configuration listed on the Databases and Data Warehouses screen.
| What's next? Data Visualization |