Snowflake Data Analyzer
In the data analyzer stage, an analysis is performed on the complete dataset based on the selected constraints. You add a data analyzer node to the pipeline and then create a data analyzer job. After running the data analyzer job with the selected constraints, a validator step gets added to the job. You can select constraints for the validator and run the validator job.
-
In the data quality stage, add a Snowflake data analyzer node. Connect the node to and from the Snowflake data lake.

-
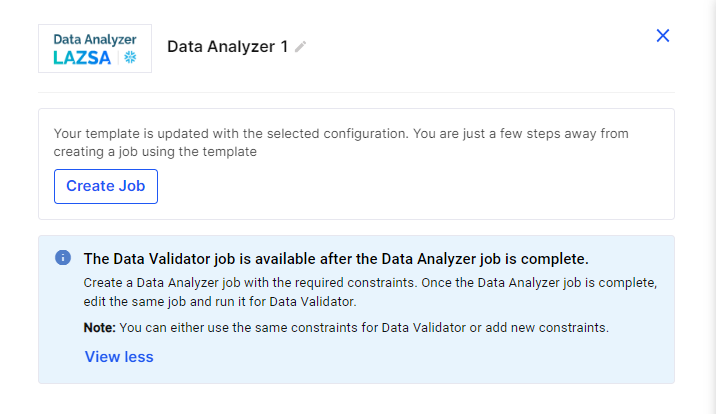
Click the data analyzer node and then click Create Job to create the data analyzer job.
-
Provide the following information to create the data analyzer job:
 Job Name
-
Job Name - Provide a name for the data analyzer job.
-
Node Rerun Attempts - Set the number of times the job is rerun in case of failure. The default setting is done at the pipeline level.
-
Fault tolerance - Select the behaviour of the pipeline upon failure of a node. The options are:
-
Default - Subsequent nodes should be placed in a pending state, and the overall pipeline should show a failed status.
-
Skip on Failure - The descendant nodes should stop and skip execution.
-
Proceed on Failure - The descendant nodes should continue their normal operation on failure.
-
Click Next.
 Source
-
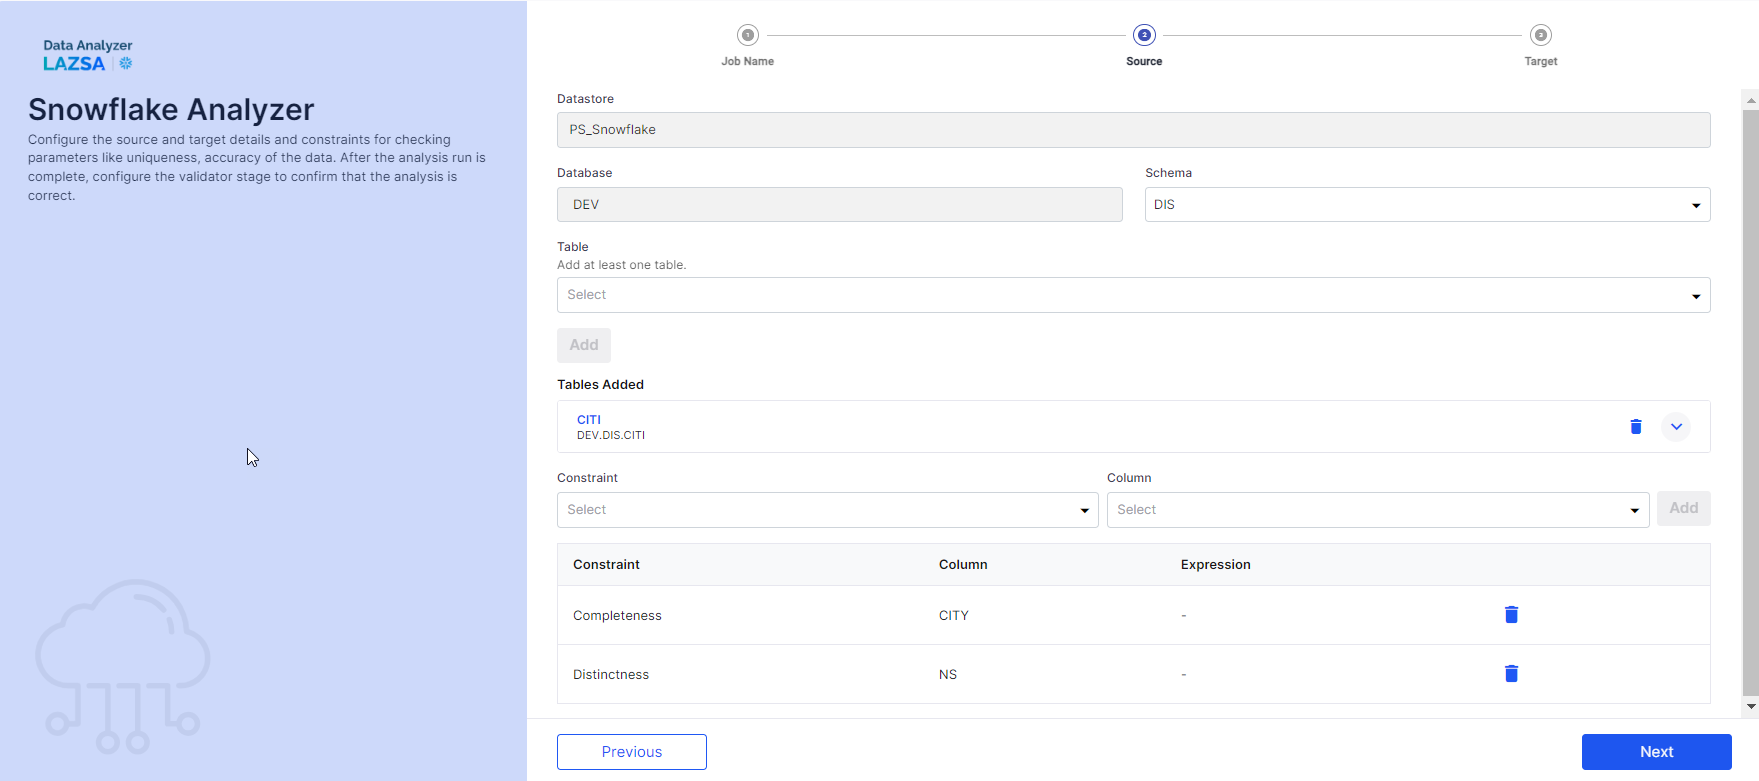
Datastore - This is automatically selected, depending on the configured datastore.
-
Database - This is automatically selected, depending on the configured datastore.
-
Schema - Select a schema from the dropdown list.
-
Table - Select a table from the dropdown list on which you want to run the selected constraints. Click Add. You can select only one table at a time. To select another table, delete the existing table and then select another one.
To add a constraint and the column on which you want to run the constraint, do the following:
-
Constraint - Select a constraint that you want to run.
-
Column - Select a column on which you want the constraint to be run. Click Add.
Select another constraint and column and click Add.
Click Next.
 Target
-
Datastore - This is automatically selected depending on the datastore that you configure.
-
Database - This is automatically selected depending on the datastore that you configure.
-
Schema - Select a schema from the dropdown list.
-
Table - Provide a name for the table in which you want to store the results of the data analyzer job. The default table name is Analyzer. It is prefixed with the name that you provide. If the table name provided by you is Sample, then the final table name is Sample_Analyzer.
Click Complete.
-
-
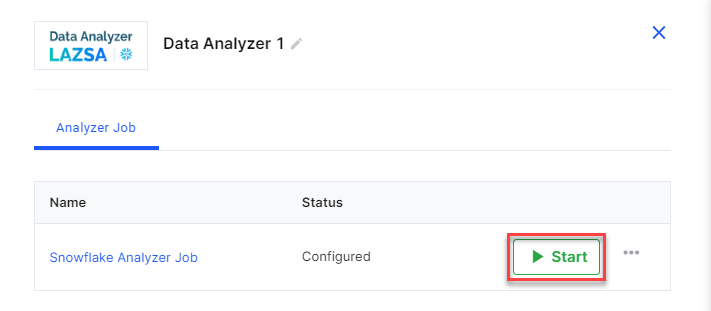
The Data Analyzer job is created. Click Start to run the data analyzer job. Alternately publish the pipeline and then run the pipeline to run the job.
-
Once the job is complete, the Analyzer Result tab is visible. Click the Analyzer Result tab, then click View Analyzer Results.

-
On the Output of Analysis Runner screen, depending on the selected constraints you can view the results. You can download the results in the form of a CSV file.
Once the data analyzer job is complete and the results are available, the next step is to create a Validator job.
Note:
The pipeline must be in Edit mode to create a Data Validator job.
To create a data validator job, do the following:
-
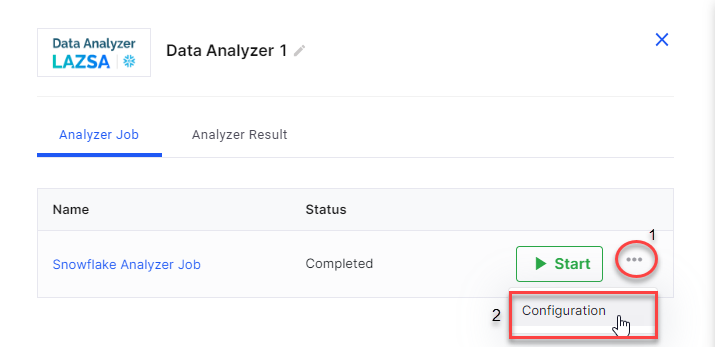
Click the data analyzer node in the pipeline. Cick the ellipsis (…) and then click Configuration.
-
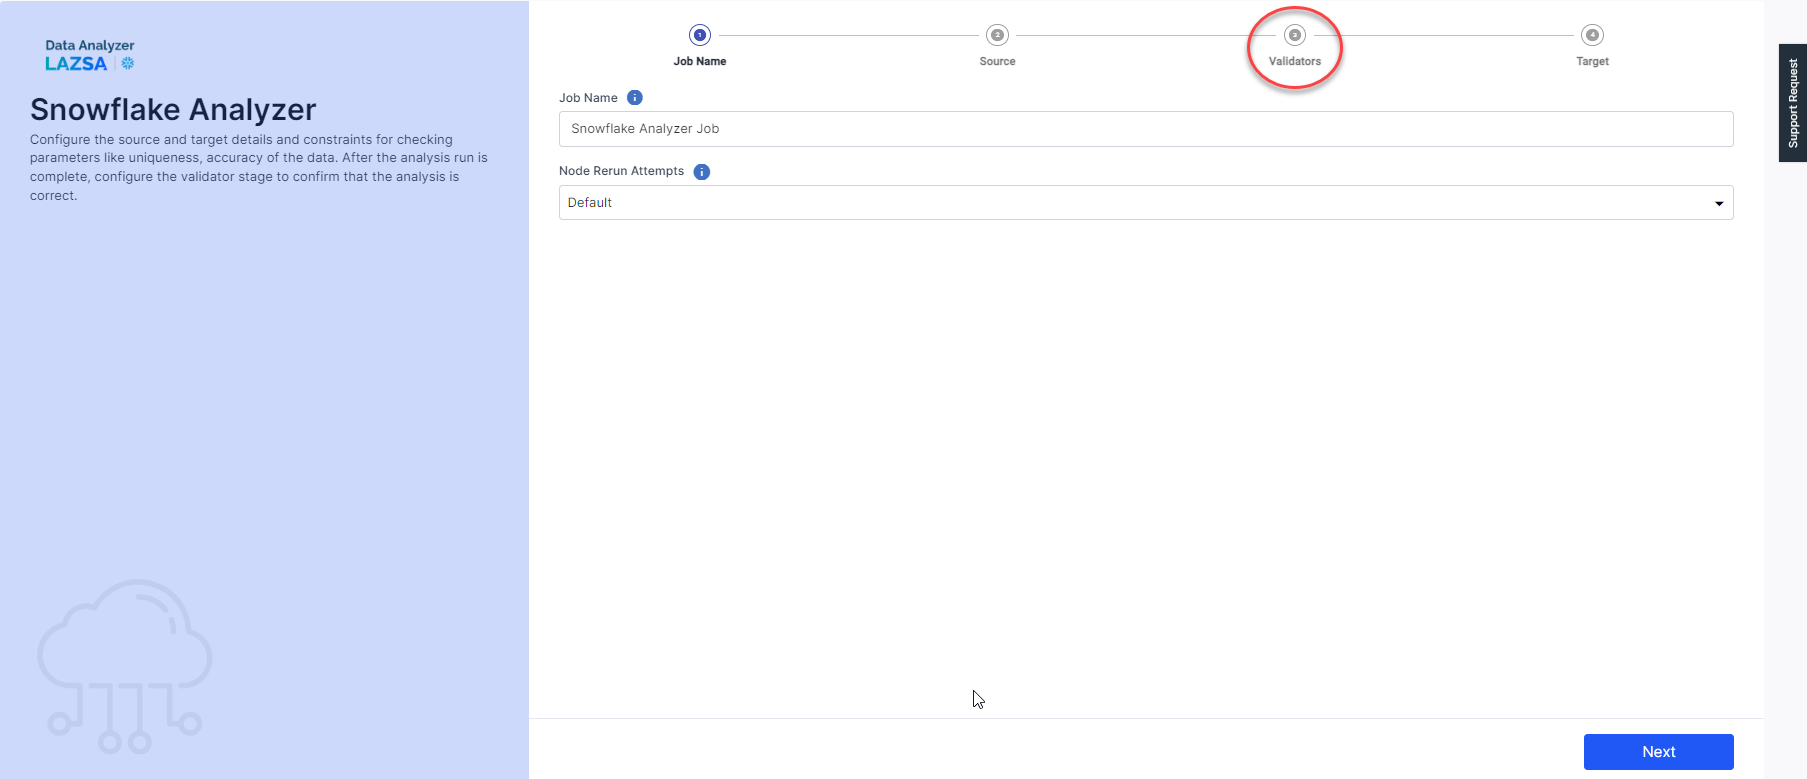
Notice that the job now has an additional step of Validators added to it.
-
Provide the following information in the Validators step:

-
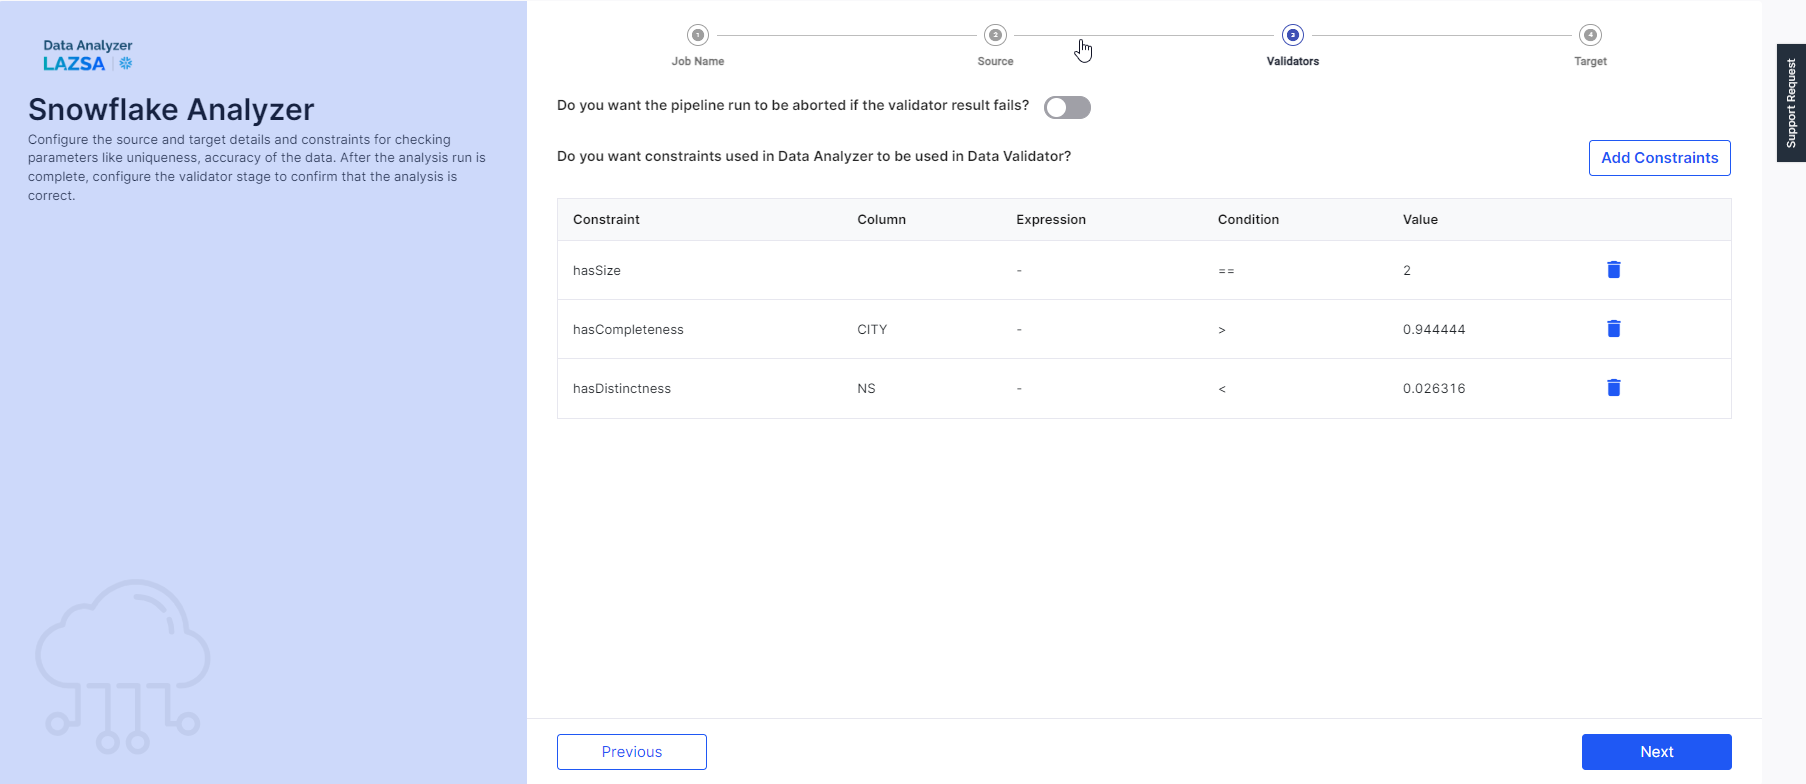
Do you want the pipeline run to be aborted if the validator result fails? - When you enable this option and a constraint in the validator job fails, then the pipeline run is aborted. Using this option you can ensure that the pipeline run is not marked as successful in spite of a failed validator condition.
-
Do you want constraints used in Data Analyzer to be used in Data Validator? - When you create a data validator job, you can do one of the following:
-
Use constraints from the data analyzer job.
-
Add new constraints.
-
Use a combination of constraints from the data analyzer job and new constraints.
Click Add Constraints. Do one of the following:
-
Add New Constraints - Click this option to view the list of constraints added in the data analyzer. Review the list and select a condition for the constraint, then click Add for the constraints that you want to add. Click Done once you have added the required constraints.
Refer to Data Quality Constraints.
-
From Data Analyzer - Click this option to add new constraints. Select a constraint from the dropdown list. Select a column. Click Add. Repeat the steps to add all the required constraints. Then click Done.
View the list of constraints that are added for the data validator job and then click Next.
-
-
-
Click the Target step and click Complete. Notice that an additional table is created with a suffix Validator for storing the data validator results.
-
Click the Data Analyzer node and click Start to initiate the data analyzer job.
-
Once the job is successful, the Validator Result tab appears. Click it and then click View Validator Results.
| What's next? Snowflake Data Issue Resolver |