Changing Identity Provider: Configure SSO with Microsoft Entra ID
If your organization is transitioning from the current Identity Provider (IdP) to Microsoft Entra ID for Single Sign-on (SSO), you can update the configuration through the Change Identity Provider option in the Security & SSO section.
This enables Calibo Accelerate to integrate with Microsoft Entra ID for secure, cloud-based user authentication and centralized identity management.
In the following sections, review the prerequisites and configuration steps carefully before making any changes to your existing IdP configuration.
Prerequisites
Before you select this option, make sure you complete the following prerequisites:
-
Microsoft Entra ID is configured
Microsoft Entra ID must be set up and linked to your organization’s cloud environment. This involves creating a directory in the Microsoft Entra ID portal and integrating it with your organization's identity management processes.
-
Application is registered in the Microsoft Entra ID portal
You need to register Calibo Accelerate as an application in Microsoft Entra ID. This process generates a unique application identity, which allows Calibo Accelerate to interact securely with Microsoft Entra ID for authentication purposes. During registration, you need to define settings like redirect URIs, permissions, and user assignments.
-
Fetch Tenant ID, Client ID, and Client Secret of the registered application from Microsoft Entra ID portal
-
Tenant ID: A unique identifier for your Microsoft Entra ID (tenant). This value is needed to establish a connection between Calibo Accelerate and your Microsoft Entra instance.
-
Client ID: Also known as the application ID, this is generated when you register your application in Microsoft Entra. It uniquely identifies the registered application.
-
Client Secret: This is a secret key generated in Microsoft Entra that acts like a password for the application. It’s required to authenticate Calibo Accelerate during the SSO process.
-
-
Add mandatory API permissions to the application in Microsoft Entra:
-
User.Read (Default): This permission allows Calibo Accelerate to read the basic profile information of the signed-in user (such as name and email).
-
User.Read.All (Type – Application): This permission is required for Calibo Accelerate to read the profiles of all users within the Microsoft Entra ID directory. It is essential for managing user access and importing users into the Calibo Accelerate platform.
-
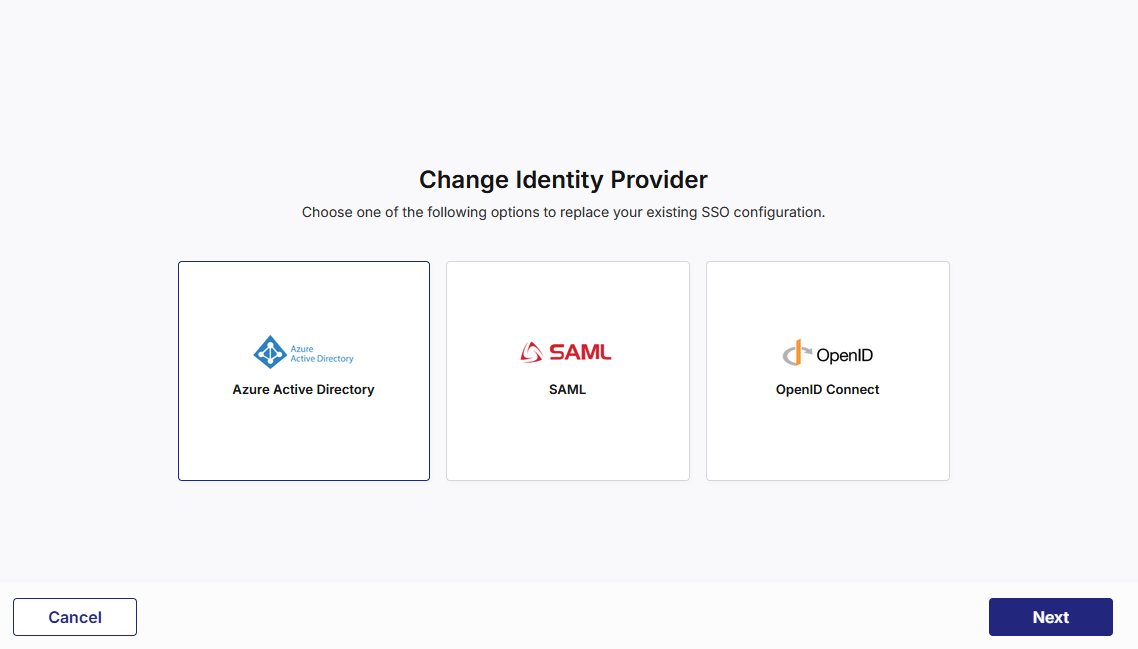
To configure user authentication by using Microsoft Entra ID, on the Change Identity Provider screen, select Microsoft Entra ID, click Next, and then, do the following:
1. Configure Microsoft Entra ID details
-
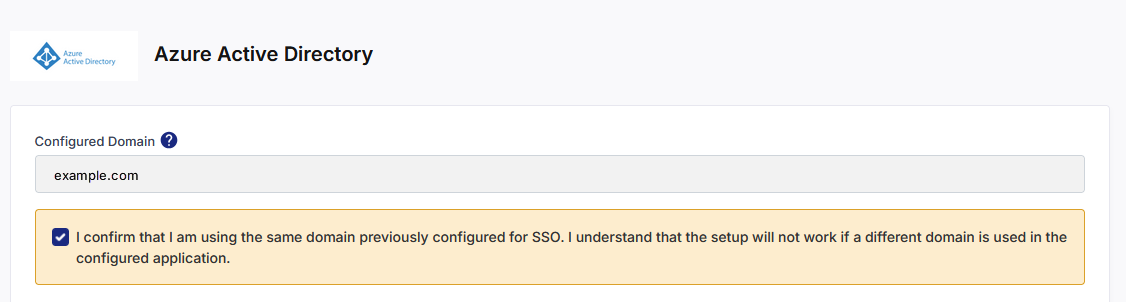
Configured Domain
When switching IdPs, the domain field is auto-populated with the domain that was used in your previous configuration.
You cannot edit this field — Calibo enforces the same domain to ensure continuity of user identity mapping.
Select the following check box:
-
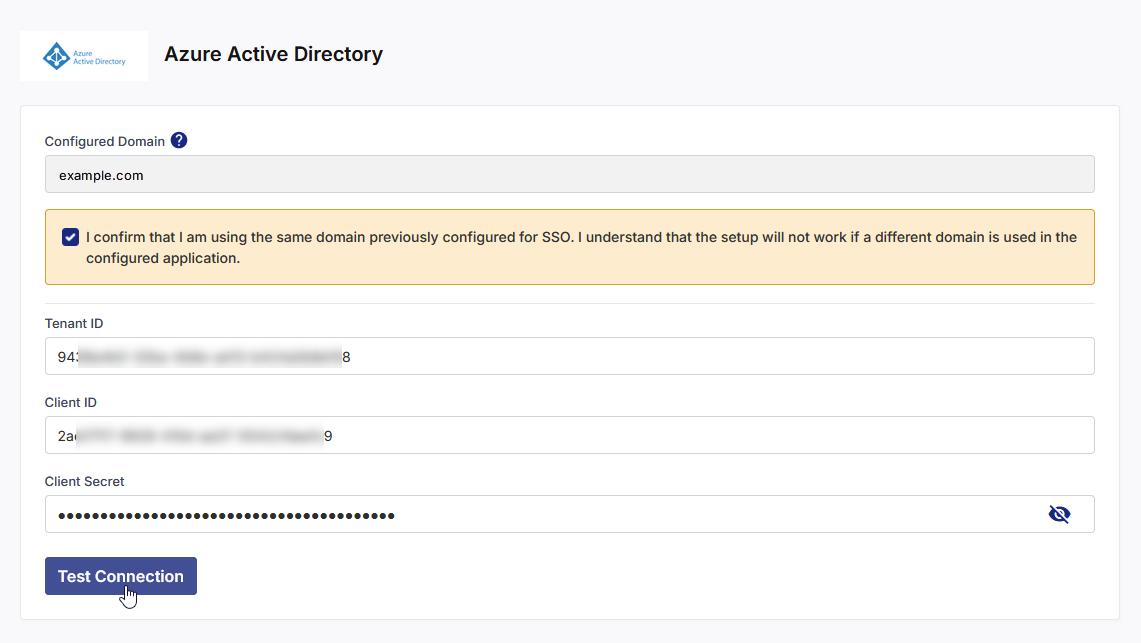
Enter the values for the following fields that you fetched in the Prerequisites section:
-
Tenant ID
-
Client ID
-
Client Secret
-
-
Click Test Connection to validate the connection details that you have configured.
-
After a successful test connection, click Next to proceed.
Click Previous to return to the previous screen.
Click Cancel and then, in the confirmation message, click Yes to discard your unsaved identity provider configuration changes and go back to the previous screen.
2. Add redirect URI to Microsoft Entra ID
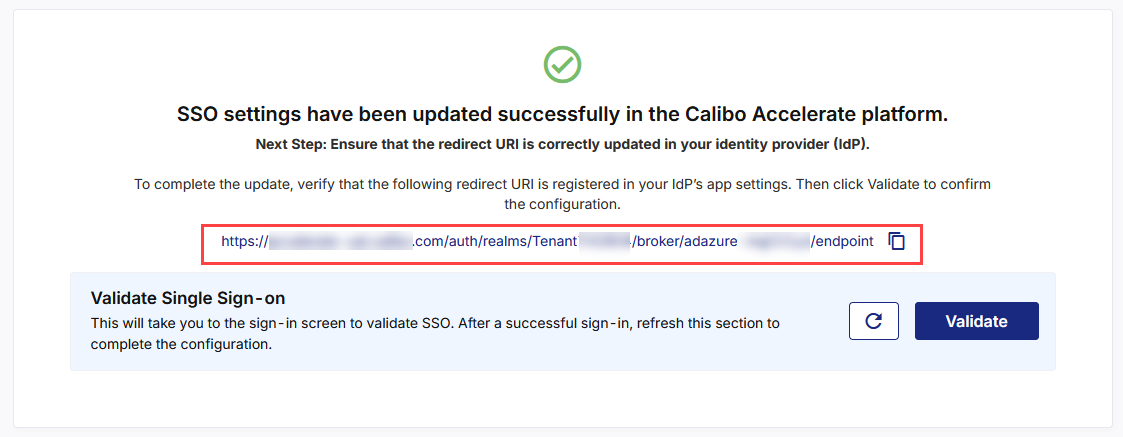
At this stage, the SSO configuration updates in the Calibo Accelerate platform interface are complete and a redirect URI is available. Copy this URI and add it to the registered application (mentioned in the prerequisites) in the Microsoft Entra ID portal. It is the Calibo Accelerate URL where Microsoft Entra ID must send authentication responses after successfully verifying a user’s identity. After you add the redirect URI to Microsoft Entra, the SSO setup is complete.
3. Validate Single Sign-on
-
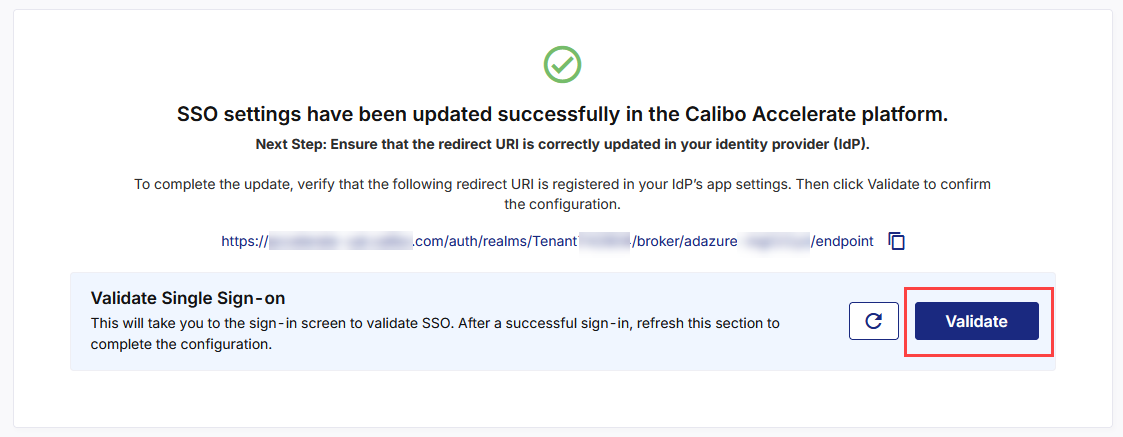
After you add the redirect URI to your registered app in Microsoft Entra, come back to the Calibo Accelerate screen from where you copied the redirect URI, and in the Validate Single Sign-on section, click Validate.
-
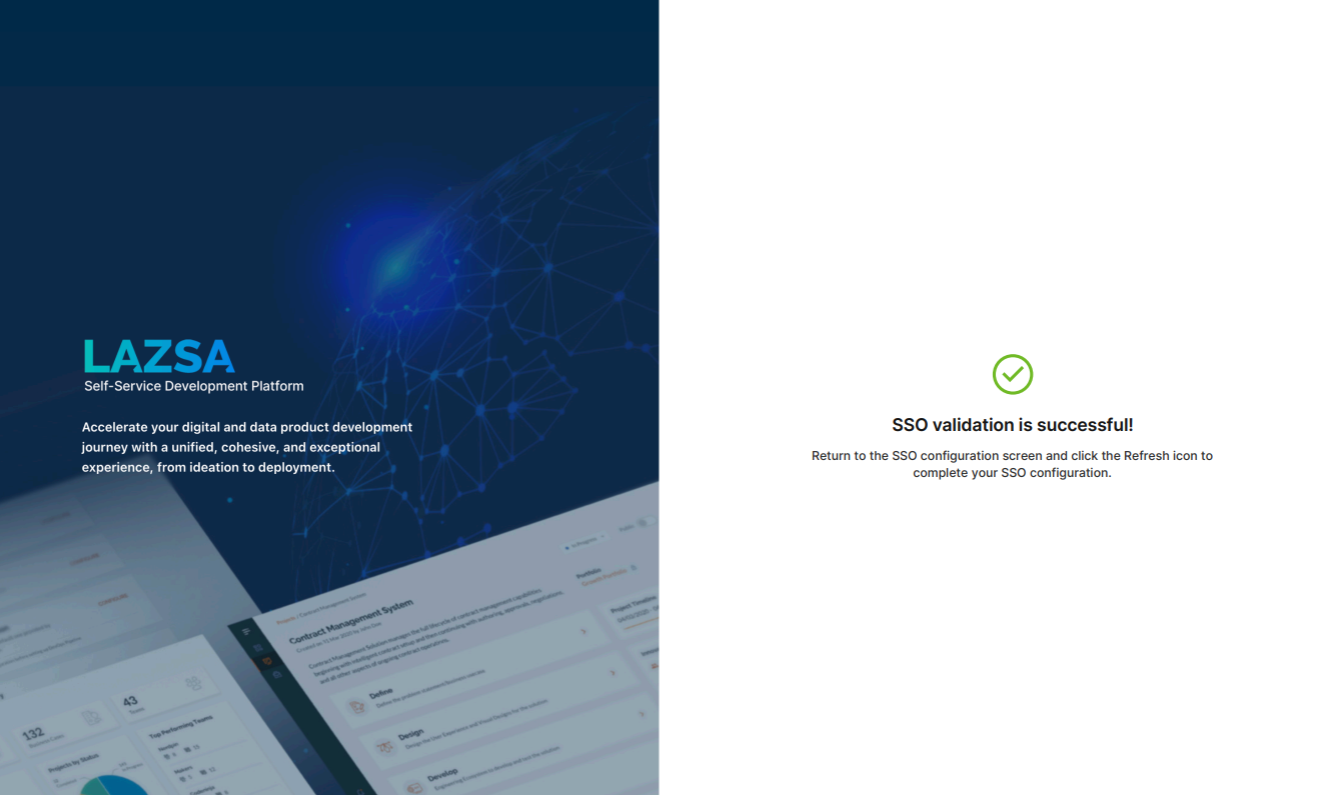
This takes you to the Calibo Accelerate sign-in screen. Use SSO credentials for user authentication. After a successful authentication redirection and SSO validation, the following success message is displayed.
-
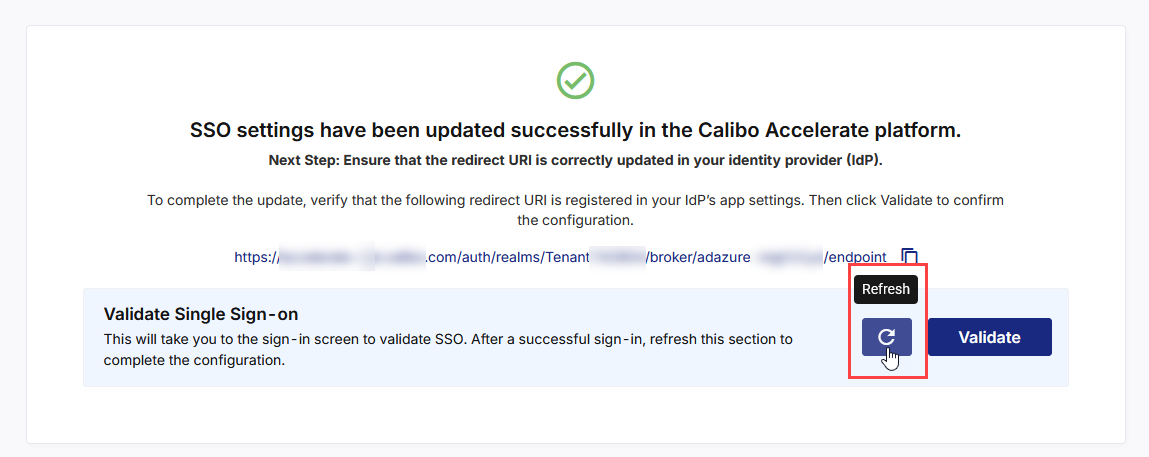
Return to the SSO configuration screen and click the Refresh icon to complete your SSO configuration.
-
After you see the message confirming that your SSO validation is successful, click Finish to complete the configuration.
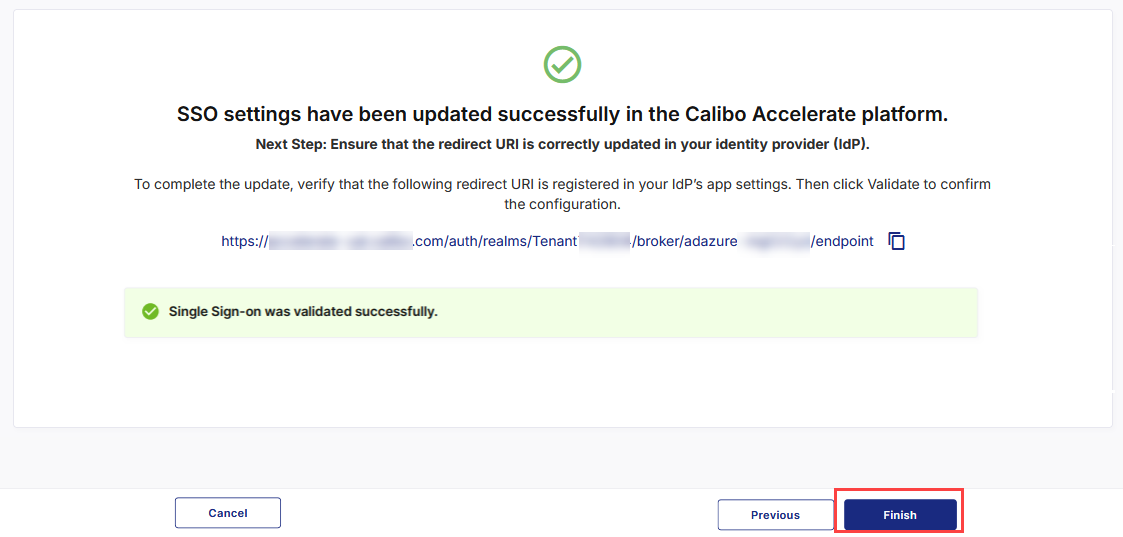
After you click Finish, your current session will automatically end. You will be logged out of the platform and will need to sign in again using the SSO credentials associated with your newly configured IdP.